Campaign progression map
The campaign starts with one fixed module, adds Chaos and environmental hazards at Level 4, introduces medium modules from Level 8, hard modules from Level 16, and finishes with four Random Hard slots at Level 30.
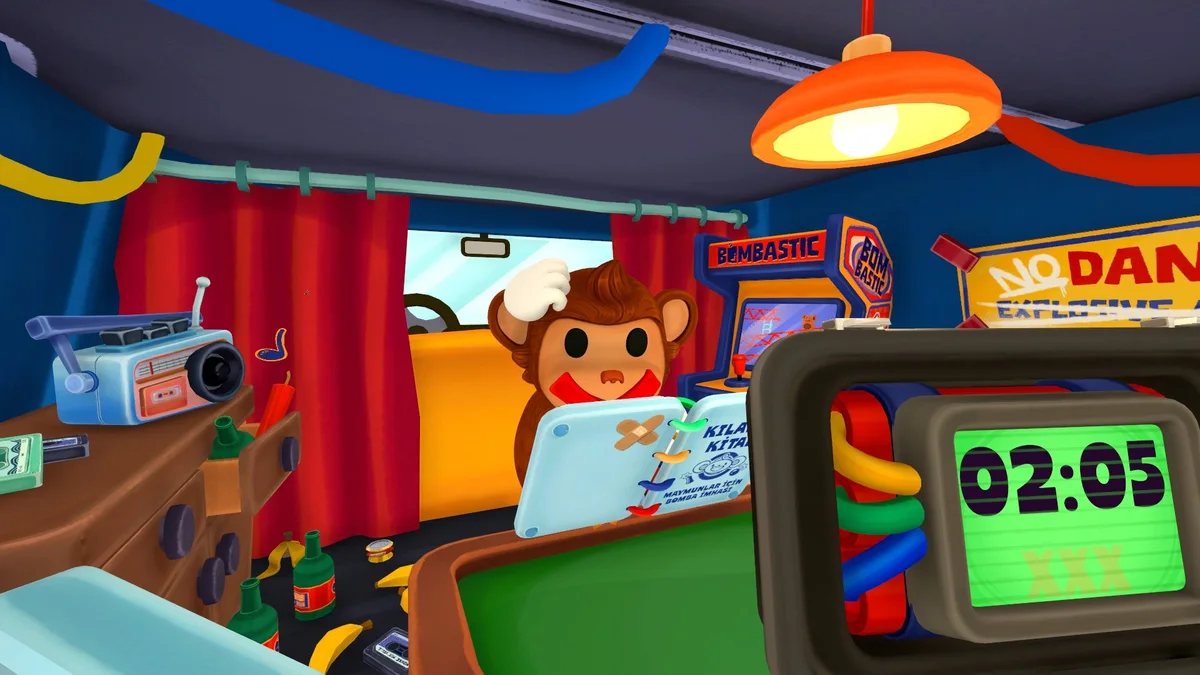
What to know
- Treat Random Easy, Medium, and Hard as pools rather than fixed module identities.
- Remember that static configuration does not prove runtime modifiers are absent.
Step by step
Levels 1–3: learn the input loop
Cable and Color Slider appear as fixed modules. Level 3 combines both and raises the configured mistake allowance from one to three.
Levels 4–7: manage the room
Radio and lamp faults become active at Level 4, alongside the first Chaos module. Level 7 switches to four Random Easy slots.
Levels 8–15: add medium modules
Symbol, Piano, Soundboard, and medium random pools enter the fixed campaign configurations while Chaos combinations grow.
Levels 16–20: introduce hard modules
Switch appears at Level 16 and Maze at Level 18. Level 20 provides five minutes for a mixed three-module layout.
Levels 21–24: expand hard communication
Morse enters at Level 21 and Monkey-Says at Level 23, with three scheduled radio and lamp faults.
Levels 25–30: random hard endgame
The final group leans on Random Hard slots and up to four configured Chaos entries. Duplicate Chaos entries in Levels 29 and 30 are preserved from source data.
Watch for these
- A random pool is not evidence that one specific module will appear.
- Duplicate Pressure or Alarm entries are source-authentic and are not editorial mistakes.
- The registry records configured timing, not an observed speedrun route.